
Build a Fullstack serverless application using React, Chakra UI, Hookstate, and Supabase


Introduction
Supabase is a popular serverless database in recent years. The library includes several features that can be used to create fully scalable applications.
Supabase makes use of the following features:
Database: Each application uses a full-featured Postgresql database.
Auth: Supabase provides several authentication methods.
Policies: Role Level Support (RLS) is available, and this feature controls who has access to your application.
This makes it relatively simple to gain access to all backend features required to build a product.
What is Hookstate?
Hookstate is a state management library that is used in React applications. It is based on the React state hook. The library is simple to use and extend, with no boilerplate required.
What is Chakra UI?
Chakra UI is a component-level-based library with a plethora of components that are simple to use in a React application.
In this article, we will create a simple Blog application, and you can clone the GitHub repo to follow along.
Getting started
We need to create a React application to get started using the command below:
yarn create react-app react-hookstate-supabase
cd react-hookstate-supabase
Install dependencies
Use either of the code blocks to install the dependencies to be used in this application:
npm install --save @supabase/supabase-js @hookstate/core @hookstate/devtools @chakra-ui/react @emotion/react @emotion/styled framer-motion
or
yarn add @supabase/supabase-js @hookstate/core @hookstate/devtools @chakra-ui/react @emotion/react @emotion/styled framer-motion
Setup Application
In this section, we will configure Chakra UI to enable styling. Navigate to index.js and replace the entire file with the code block below:
import React from "react";
import ReactDOM from "react-dom/client";
import "./index.css";
import App from "./App";
import reportWebVitals from "./reportWebVitals";
import { ChakraProvider } from "@chakra-ui/react";

const root = ReactDOM.createRoot(document.getElementById("root"));
root.render(
  <React.StrictMode>
    <ChakraProvider>
      <App />
    </ChakraProvider>
  </React.StrictMode>
);

reportWebVitals();
After that, we can style the application using the components provided by Chakra UI.
Integrate Supabase into your application
After successfully creating a React application and installing all required dependencies, we should now create a database.
To create a Supabase database, follow the steps that follow:
Create Account
Visit Supabase and create an account using any of the available methods, or if you already have an account, follow up.
If you successfully signed in, you should see a dashboard similar to the one below:
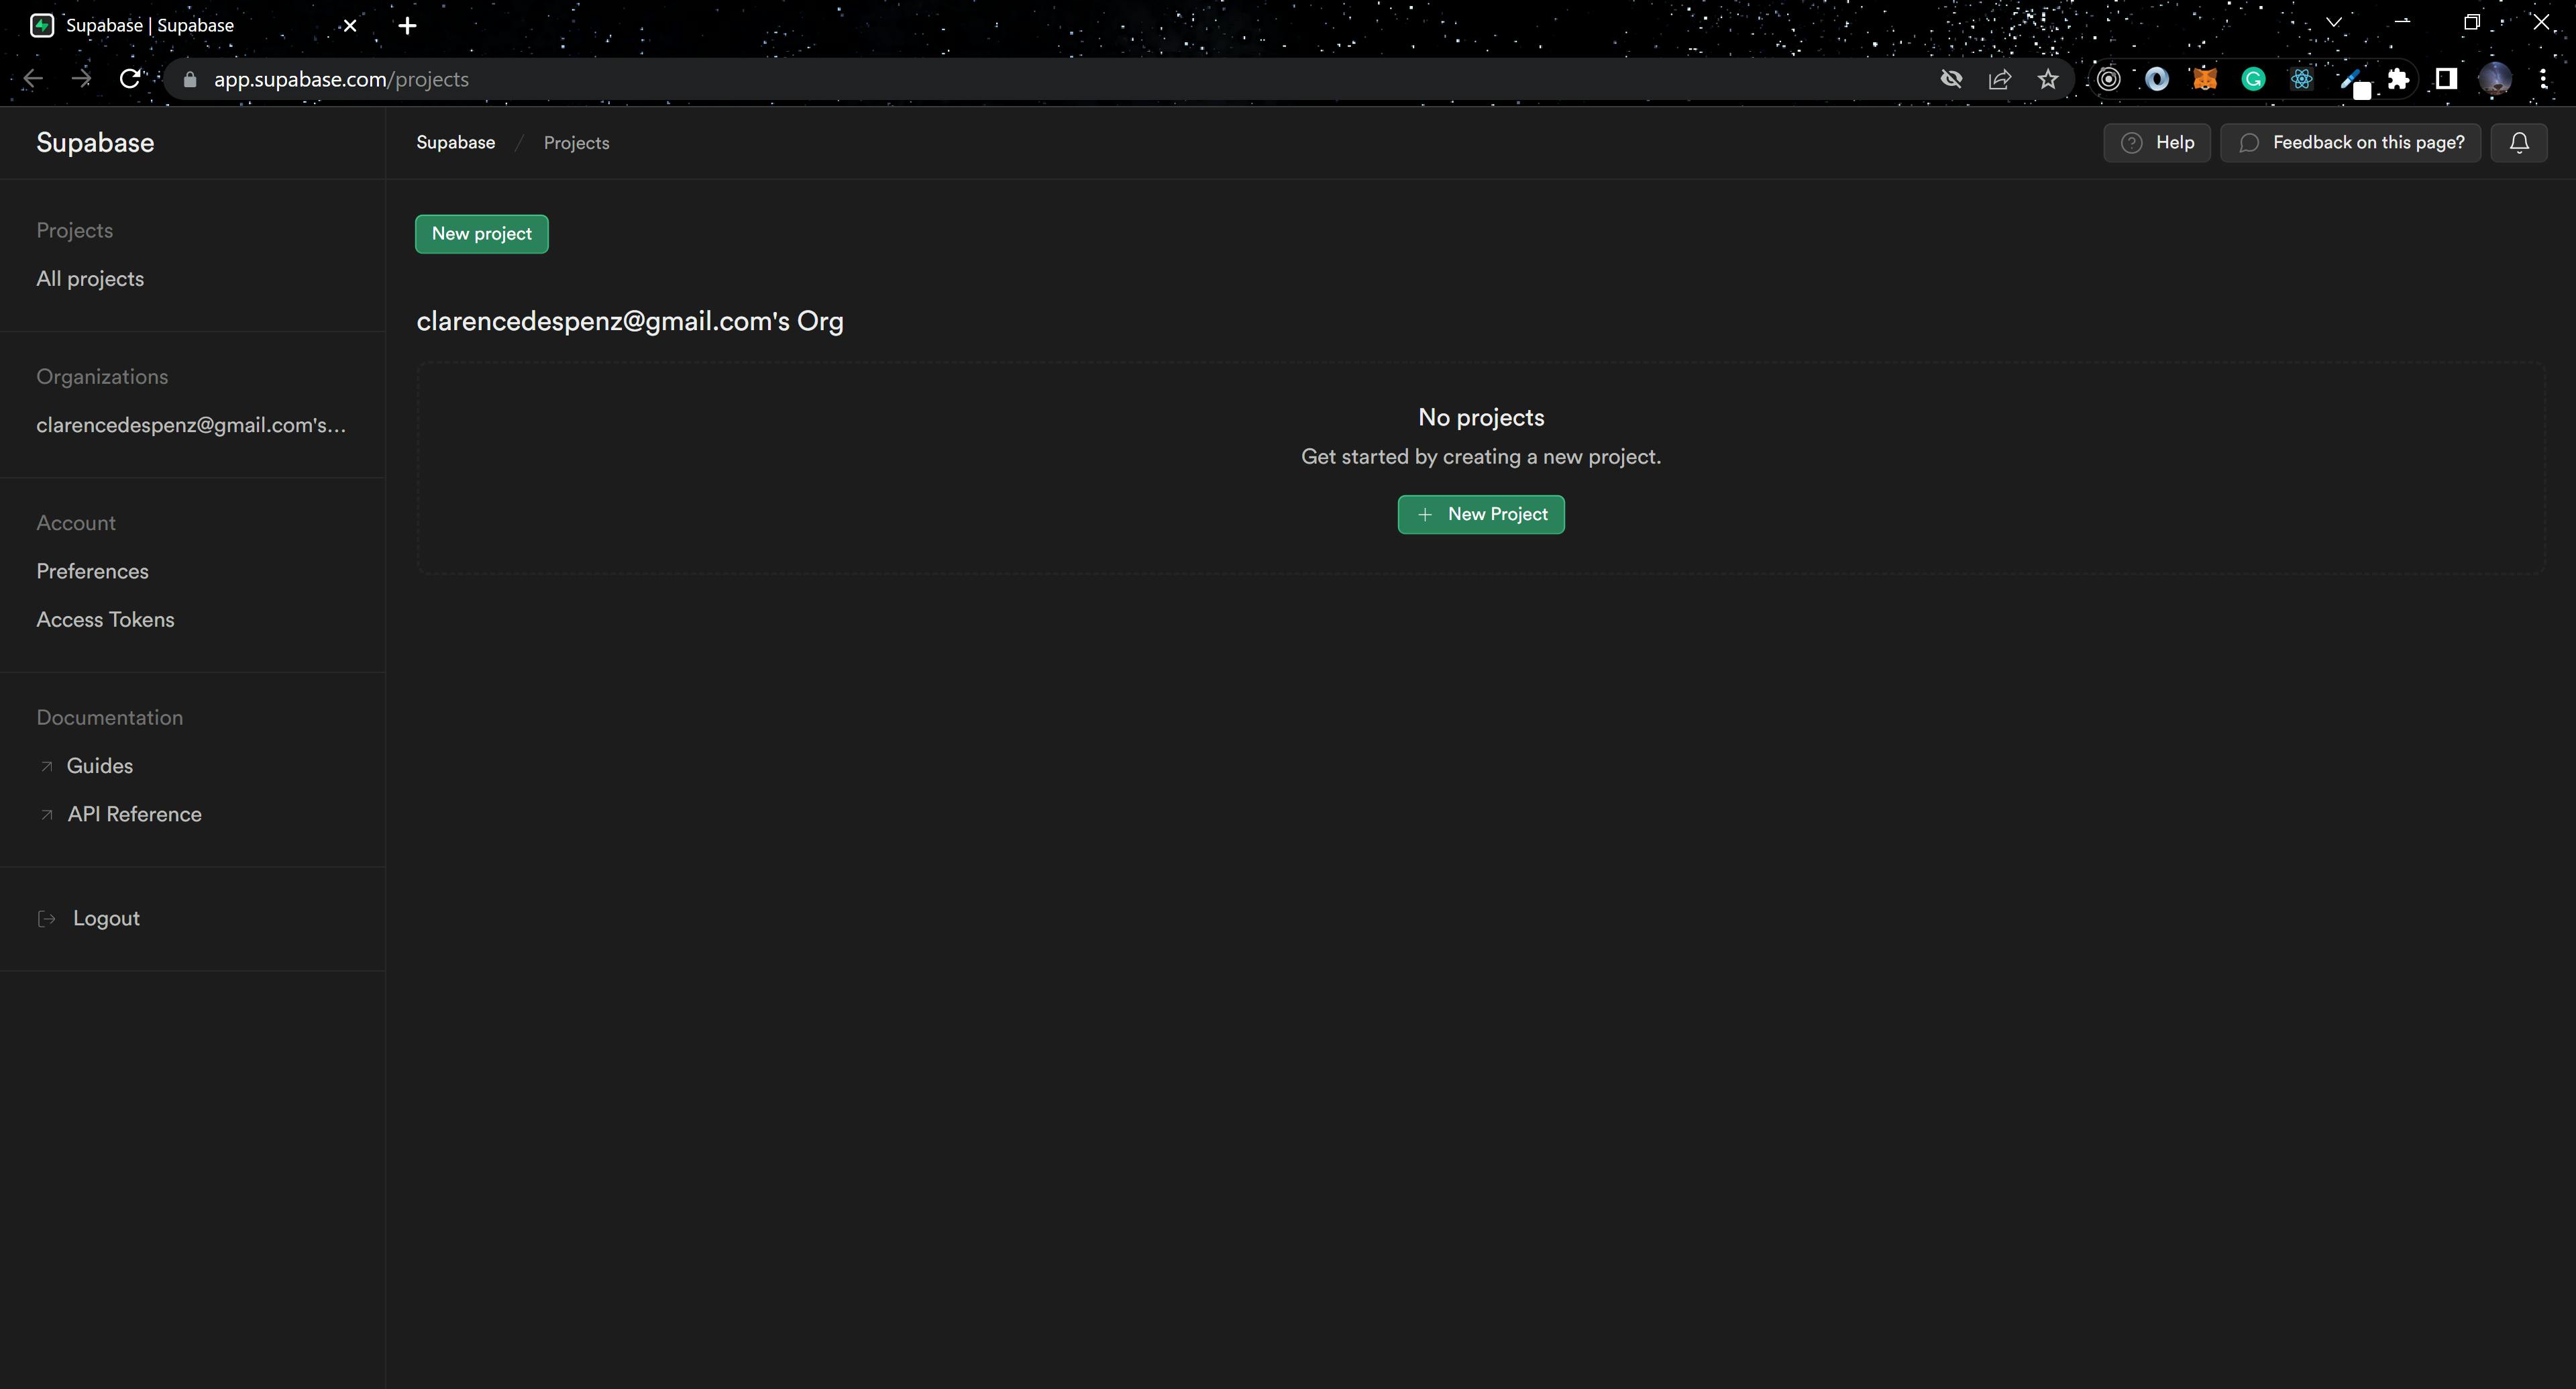
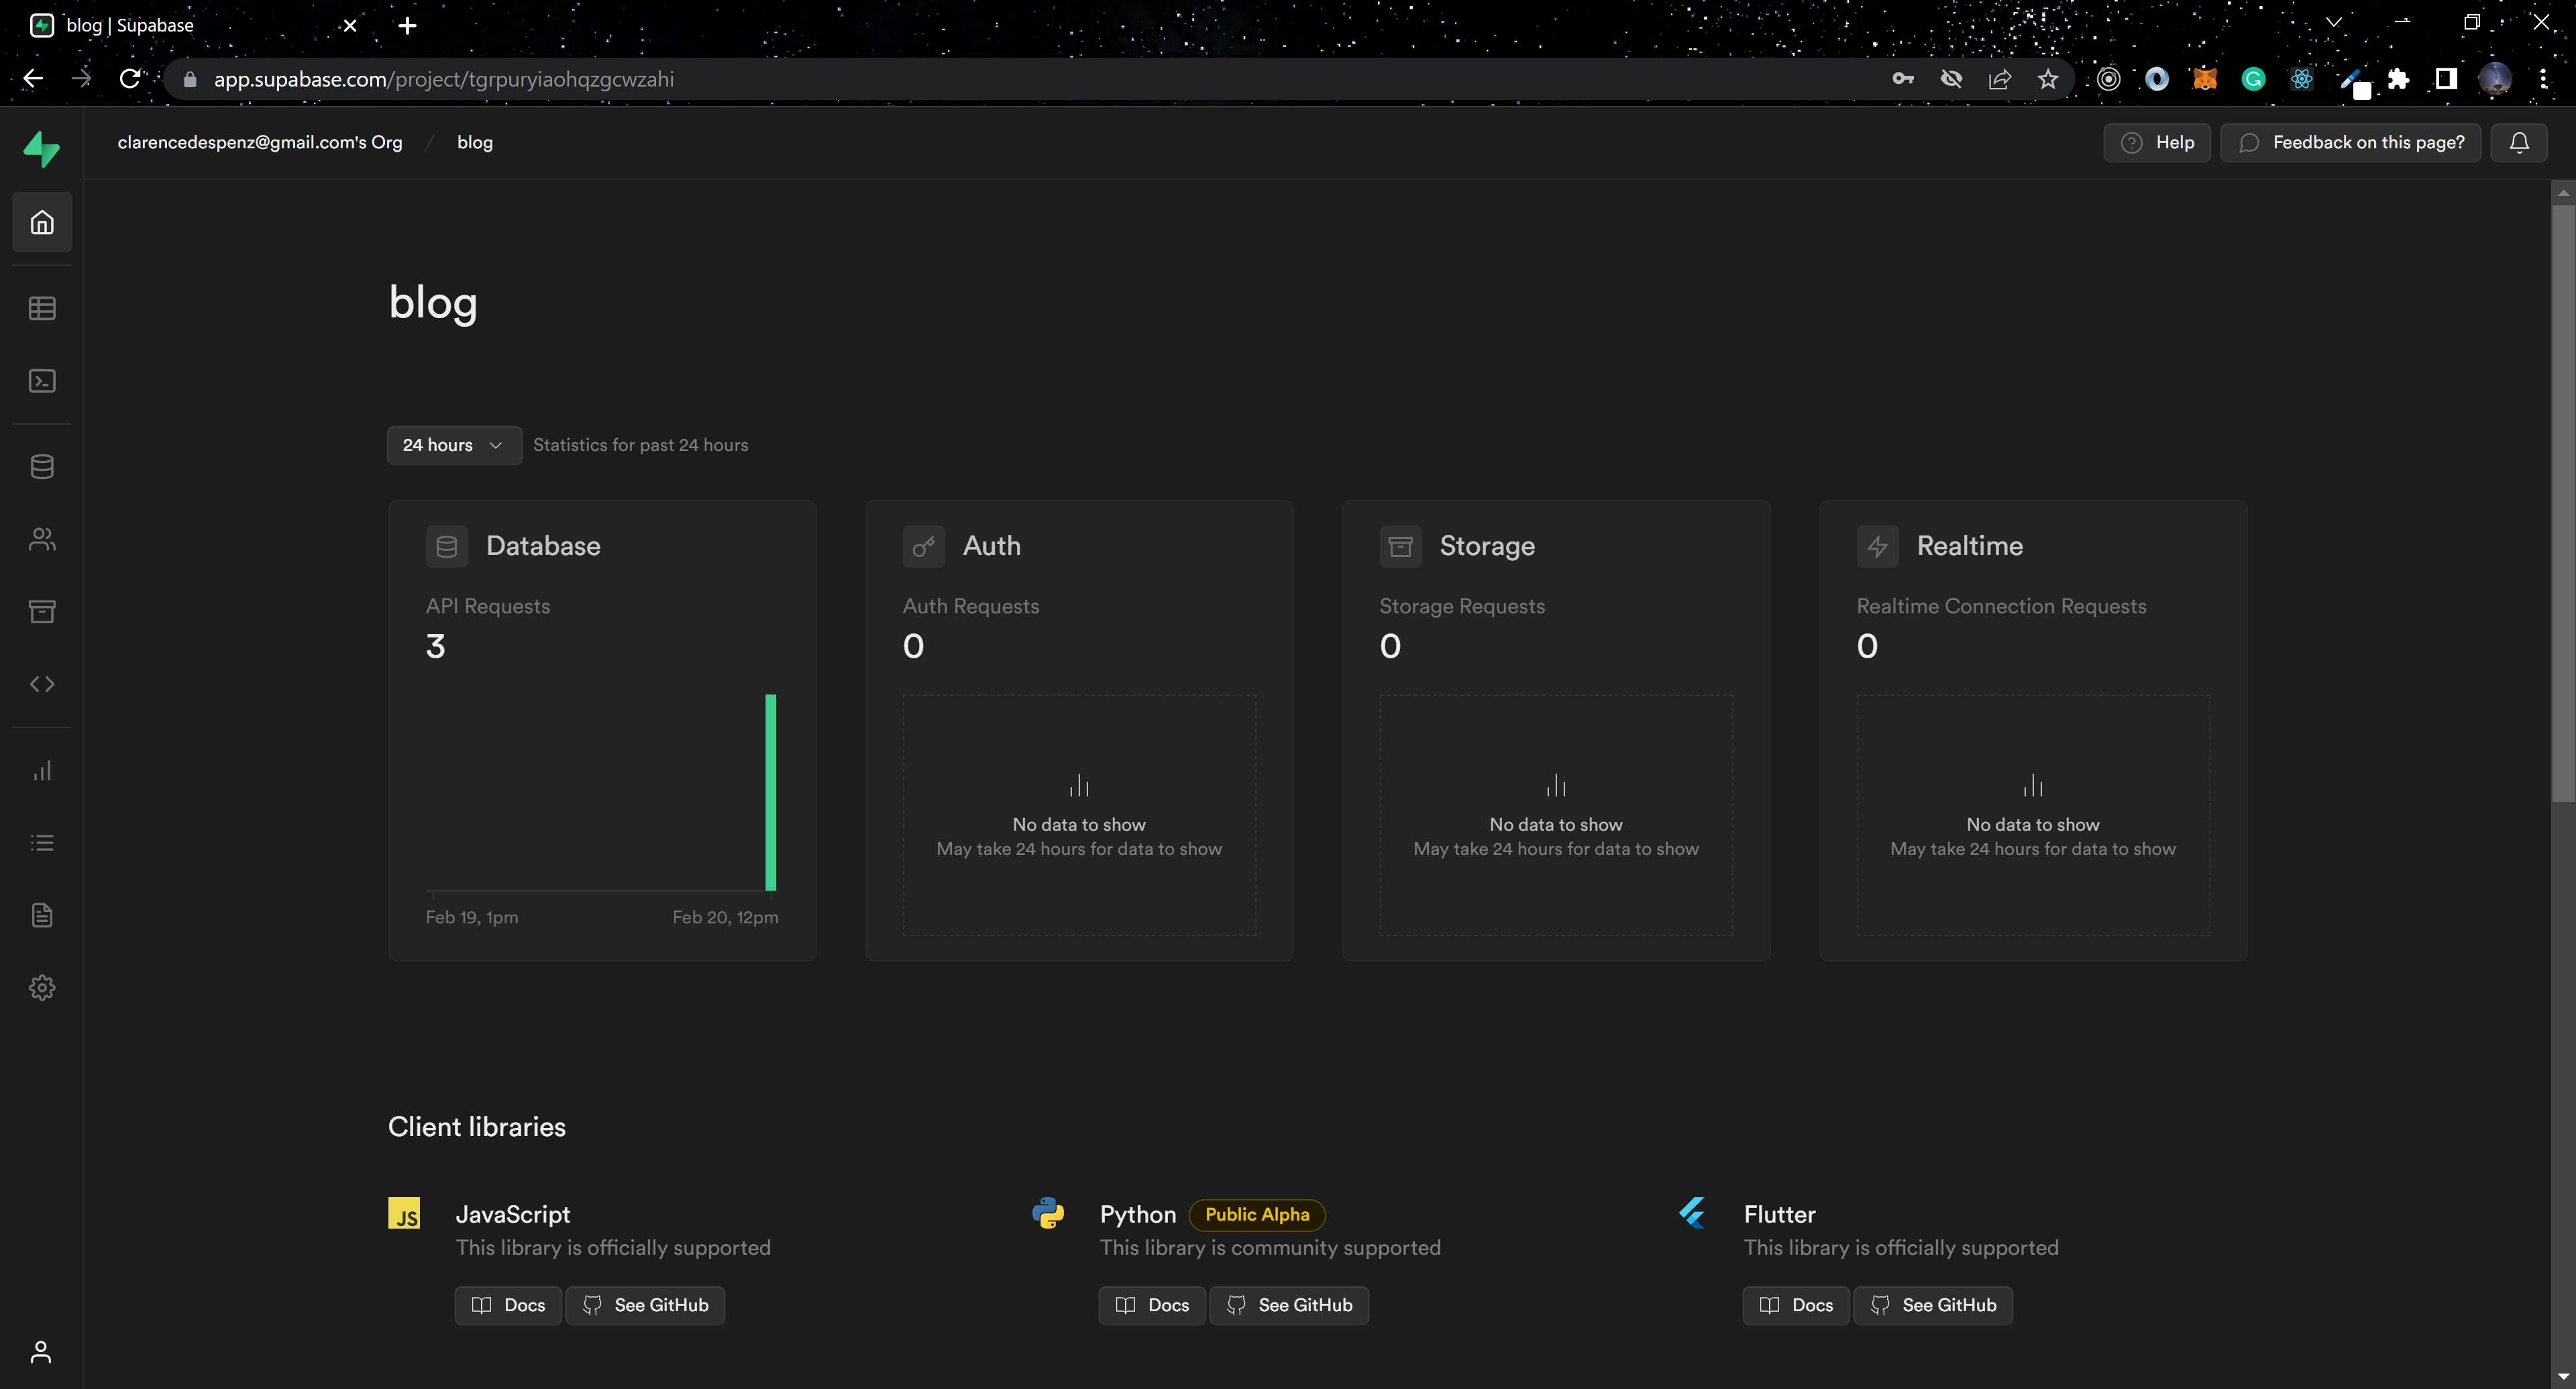
Next, click on New Project, select your existing organization, and create a new project.

This will take some time to set up, but once done, the image below should appear.
Navigate to settings, and select API. We will need the project URL and anon public key to connect to Supabase from our React application.
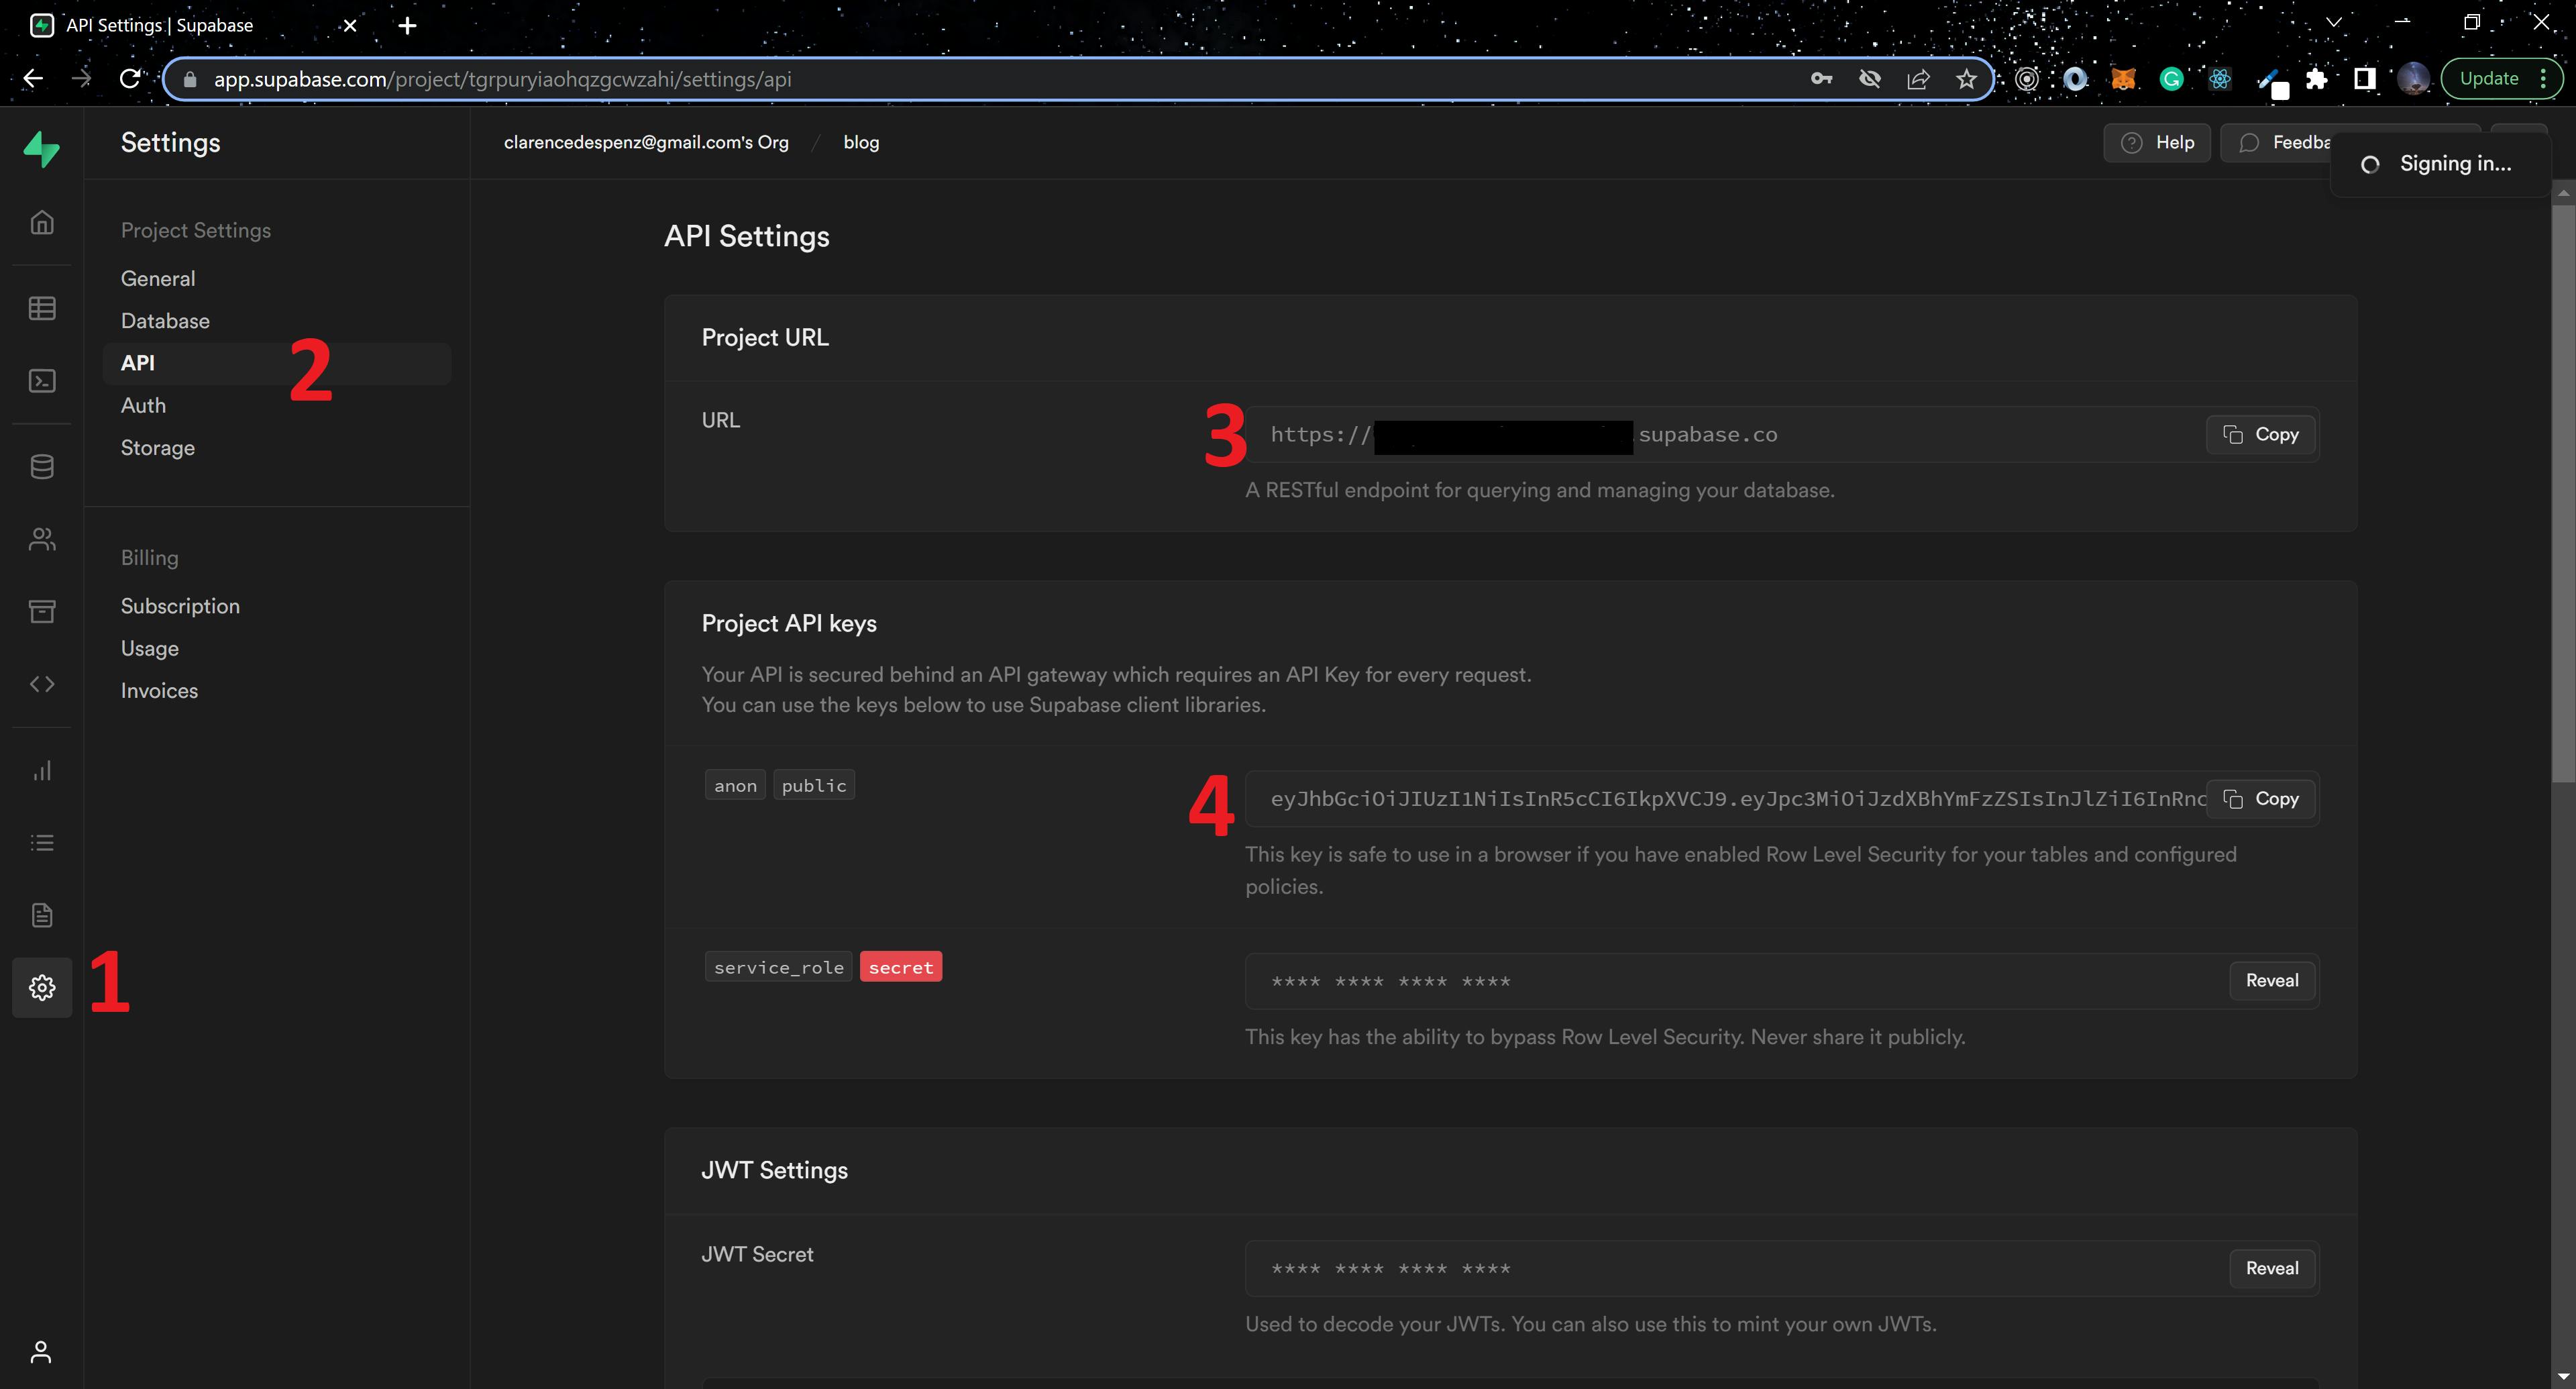
To add the keys to our project, create a .env file in the root directory and add the code block below:
REACT_APP_SUPABASE_URL=YOUR_SUPABASE_URL
REACT_APP_SUPABASE_ANON_KEY=YOUR_SUPABASE_ANON_KEY
Replace the keys with yours. Also, add .env to your .gitignore file to prevent any possibility of pushing the keys to a remote repo.
Next, create src/config/supabaseClient.js and add the code block below:
import { createClient } from '@supabase/supabase-js'

const supabaseUrl = process.env.REACT_APP_SUPABASE_URL
const supabaseAnonKey = process.env.REACT_APP_SUPABASE_ANON_KEY

export const supabase = createClient(supabaseUrl, supabaseAnonKey);
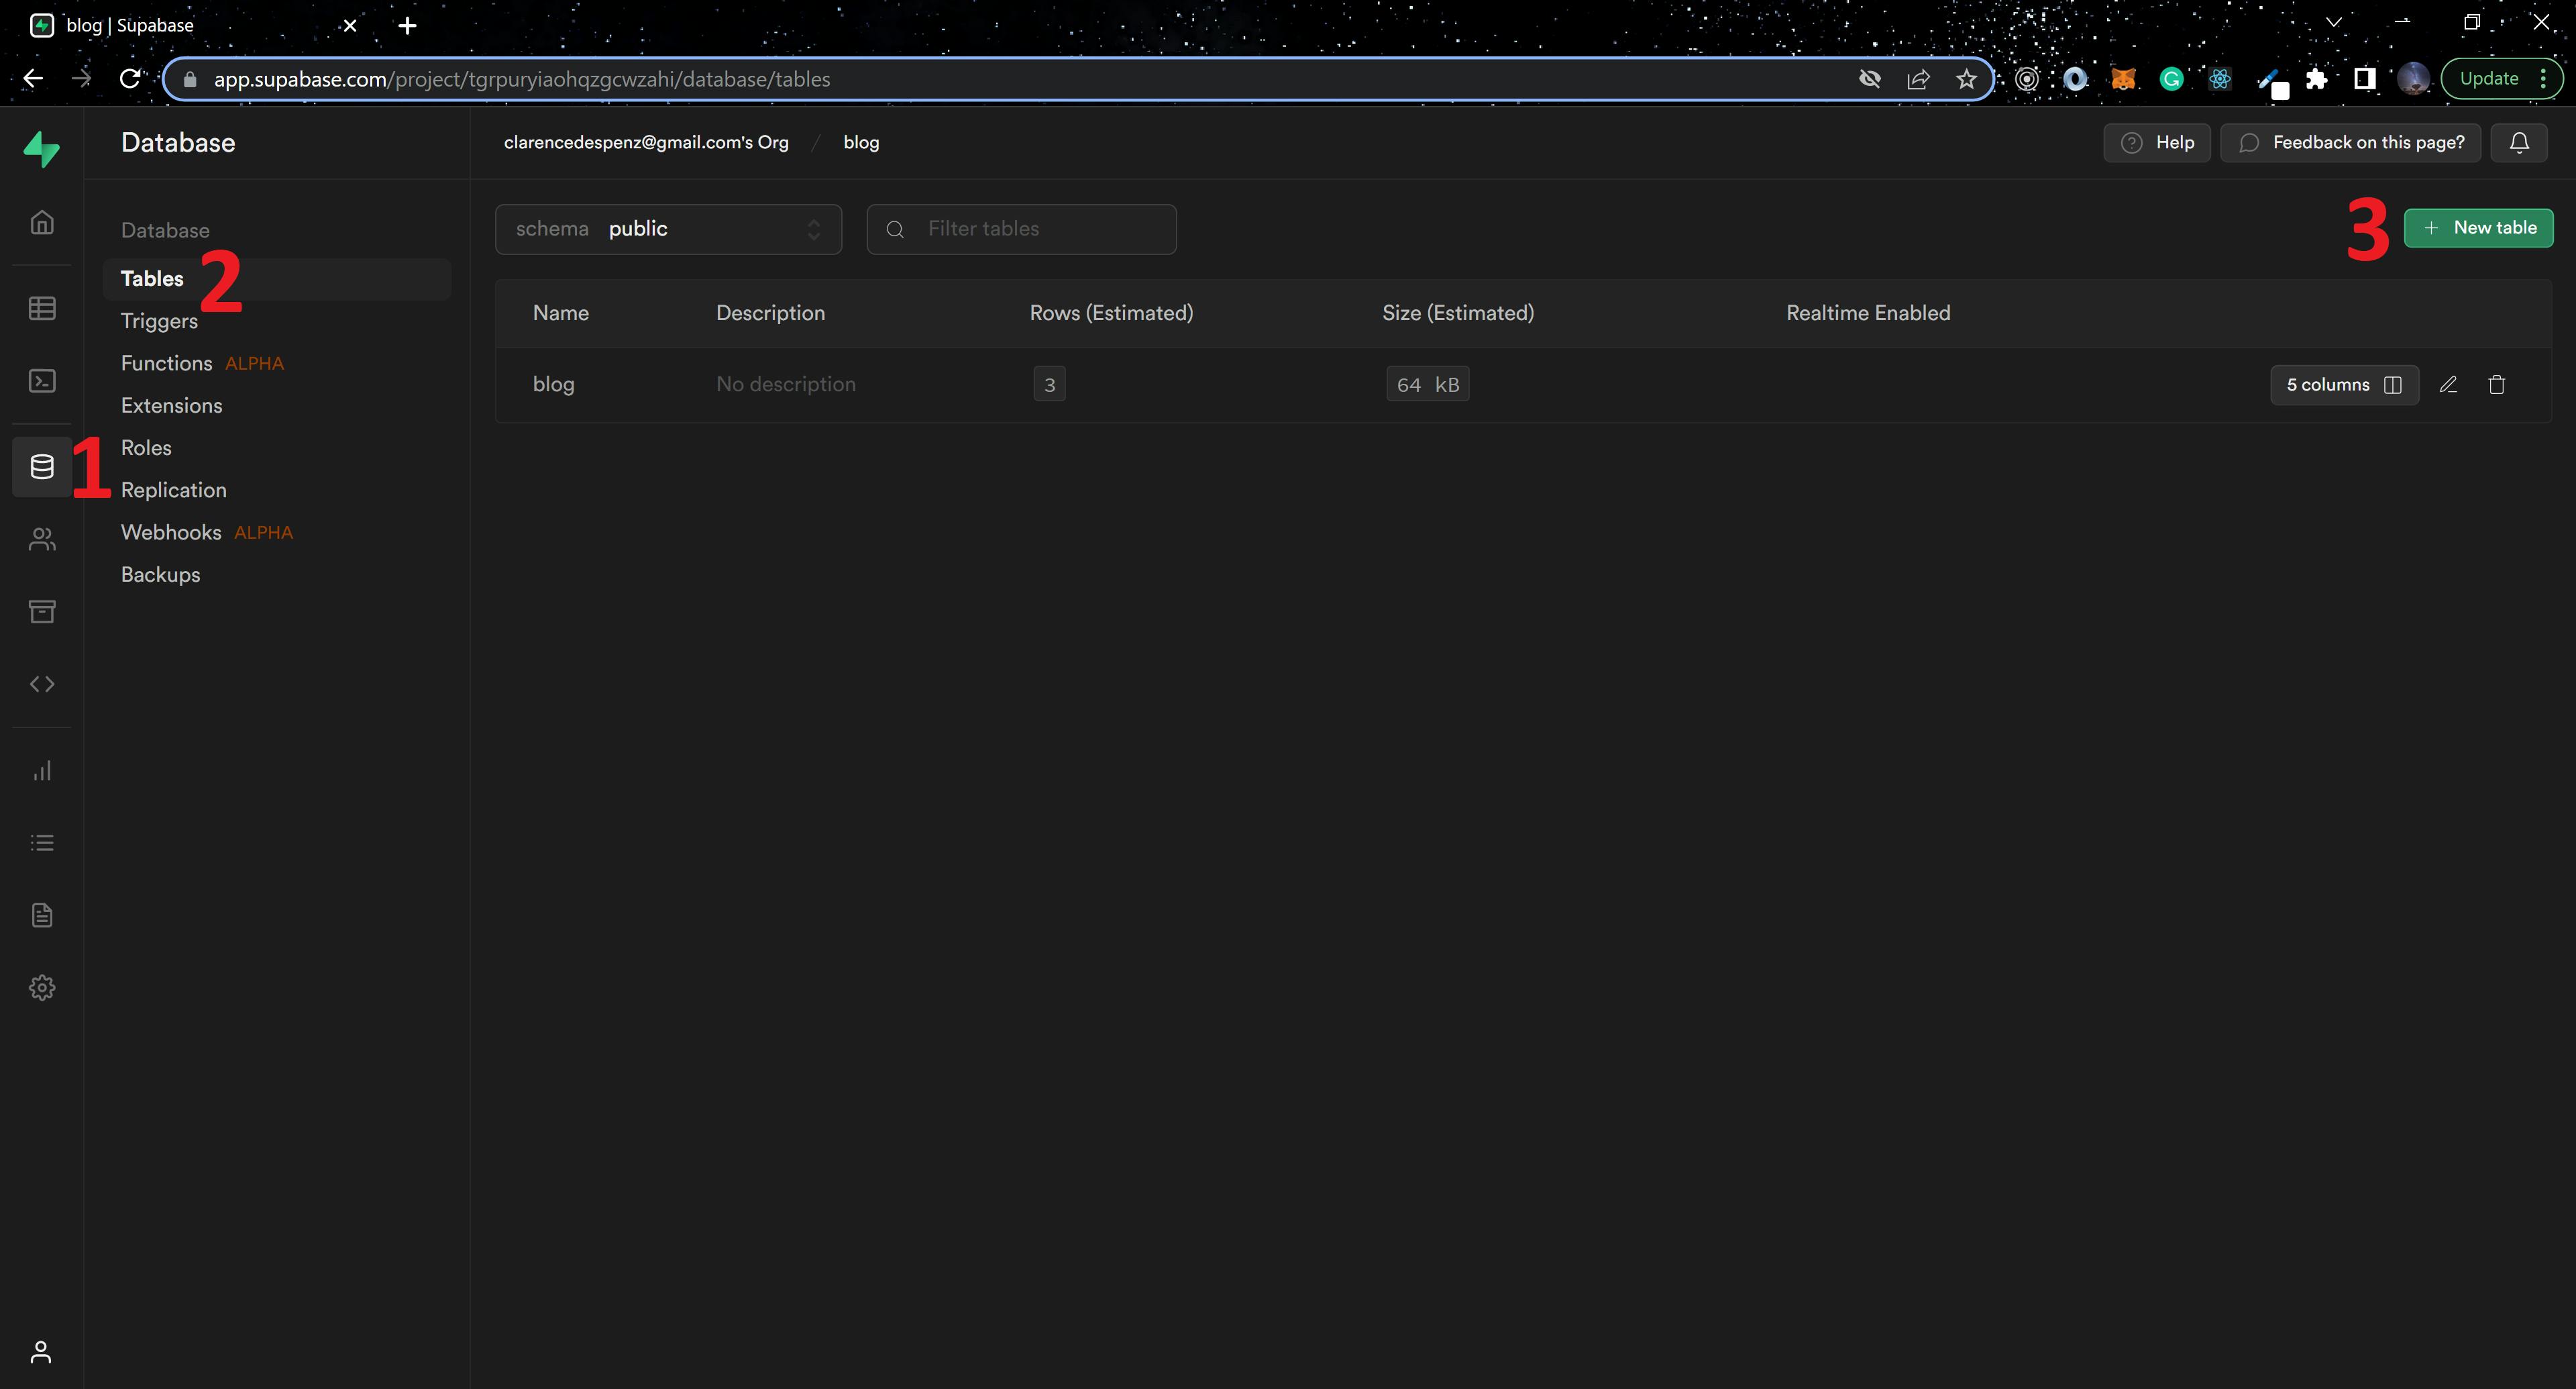
Return to your Supabase dashboard, click on Database, and click on create a new table. We will add the following columns to the table and save it.

Enable Policies
Role Level Support (RLS) is a feature in Supabase that prevents unauthorized users from accessing data from your project URL. You can use this feature to customize/assign roles in your database.
Navigate to authentication, then policies, and then New Policy to create a policy for each CRUD function.
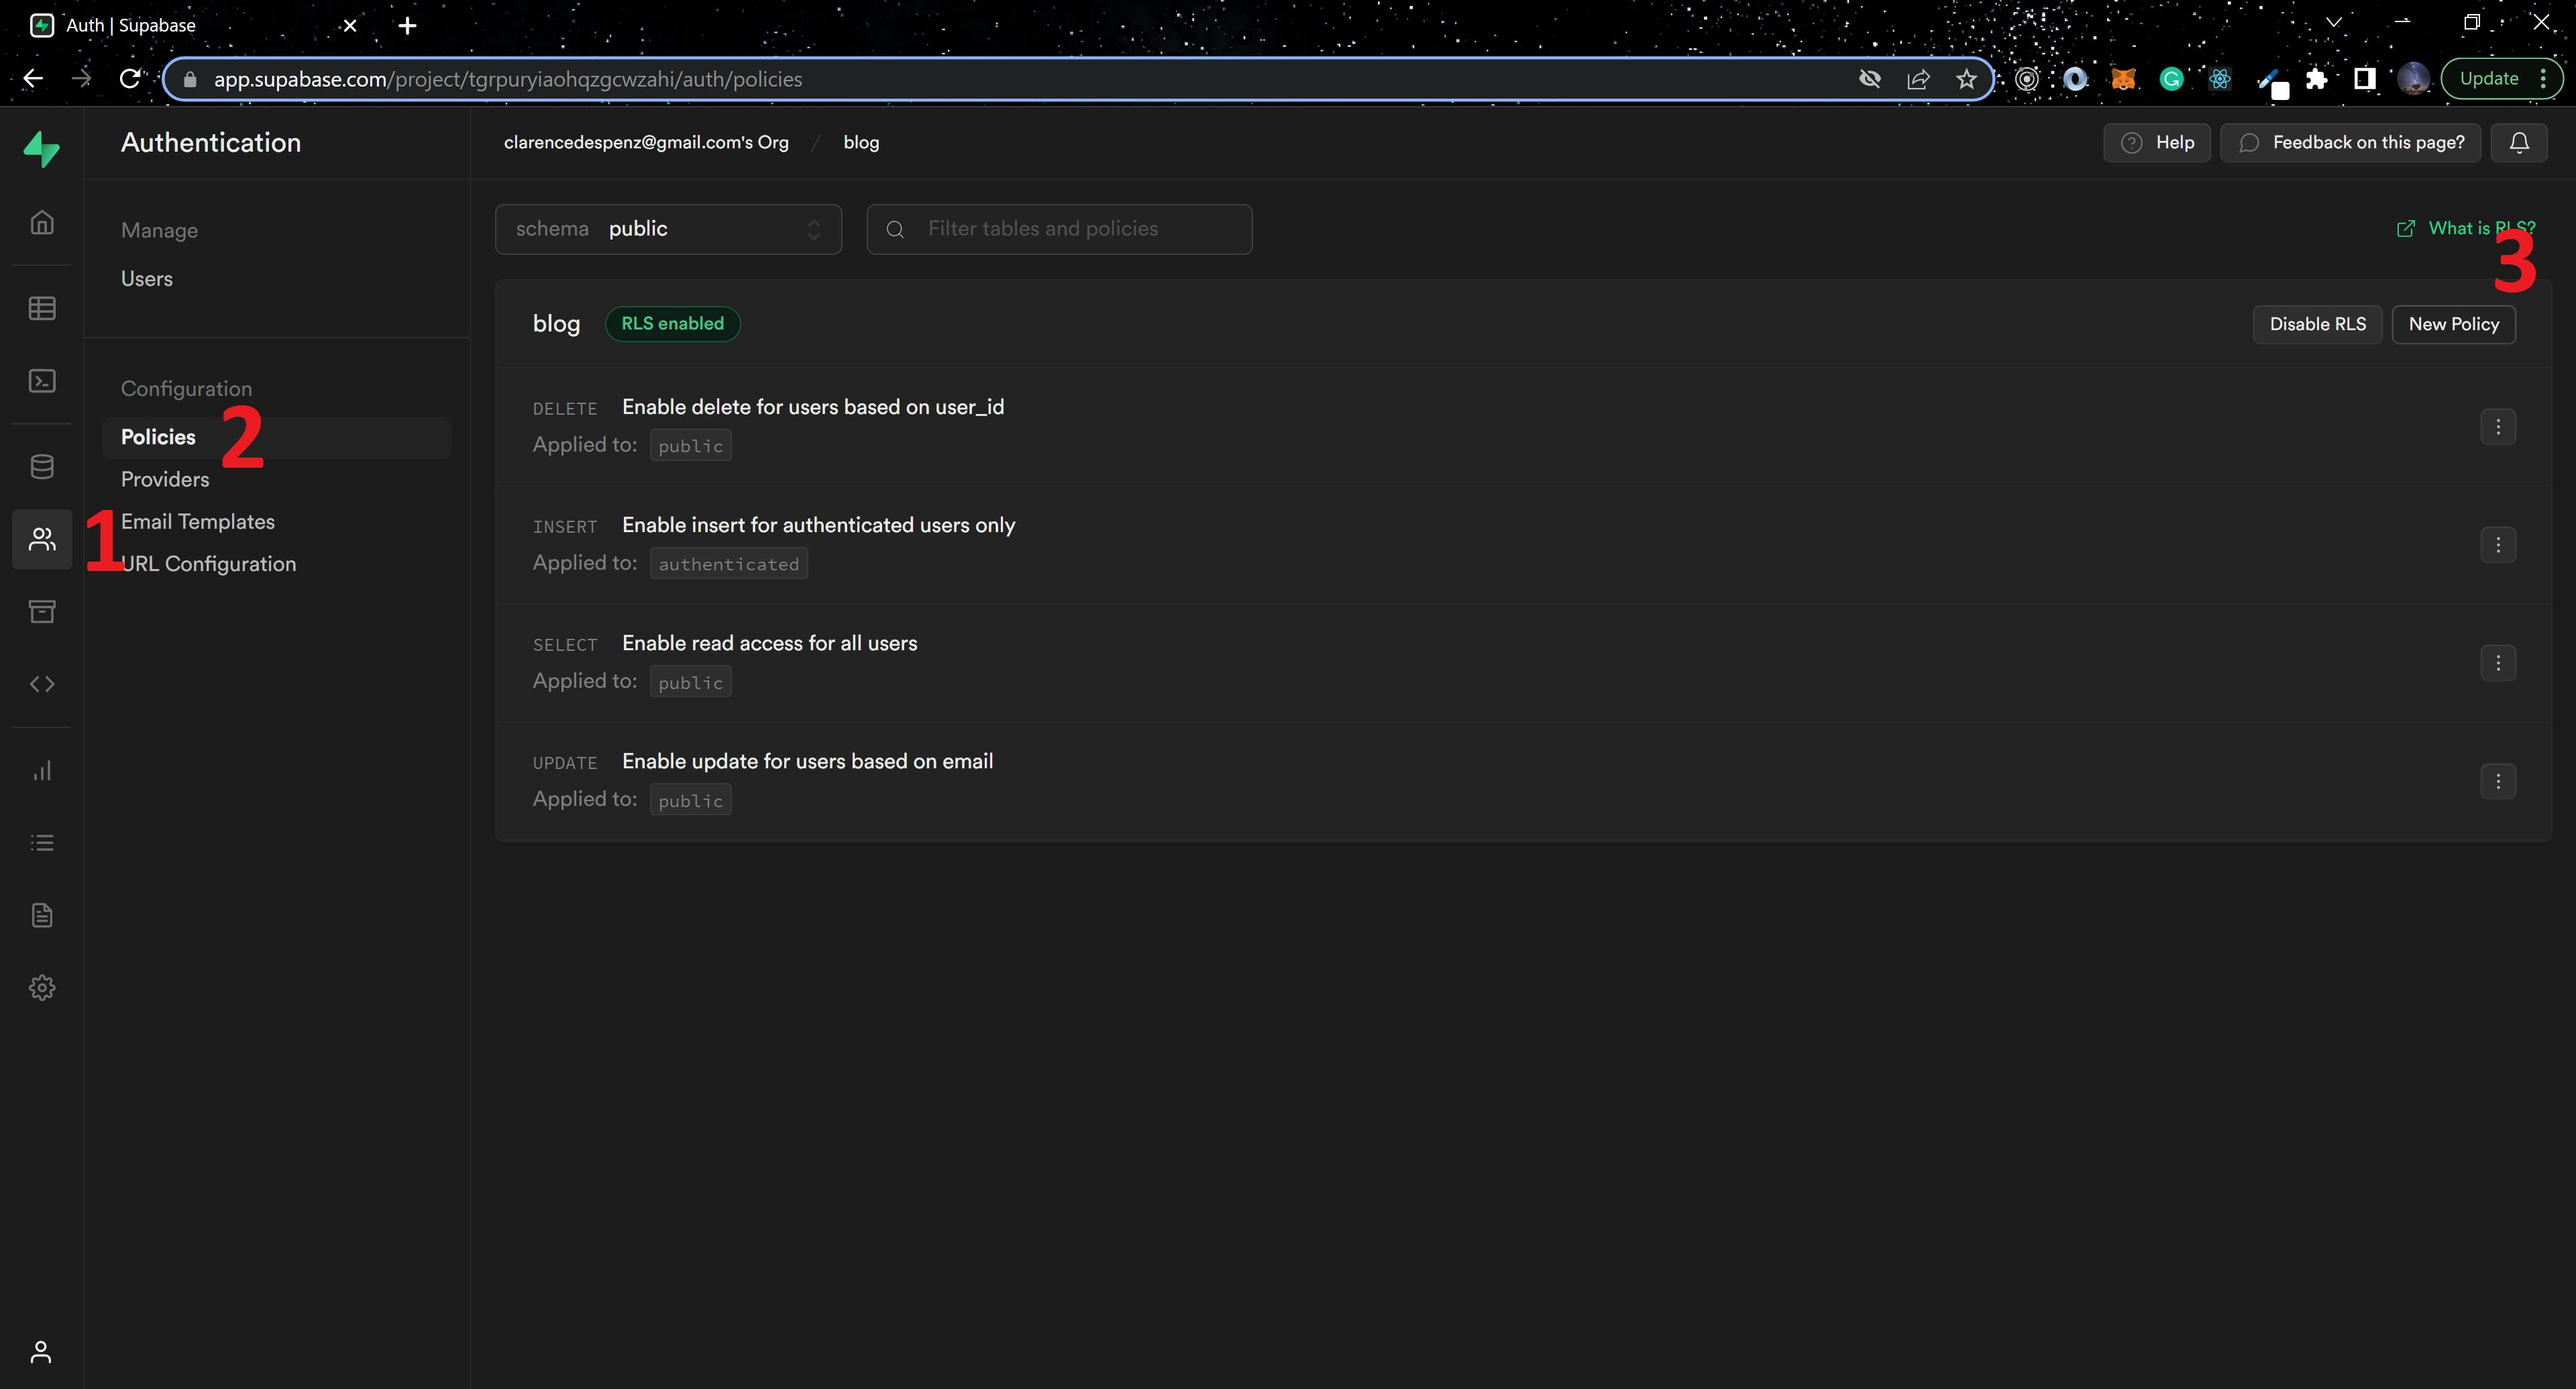
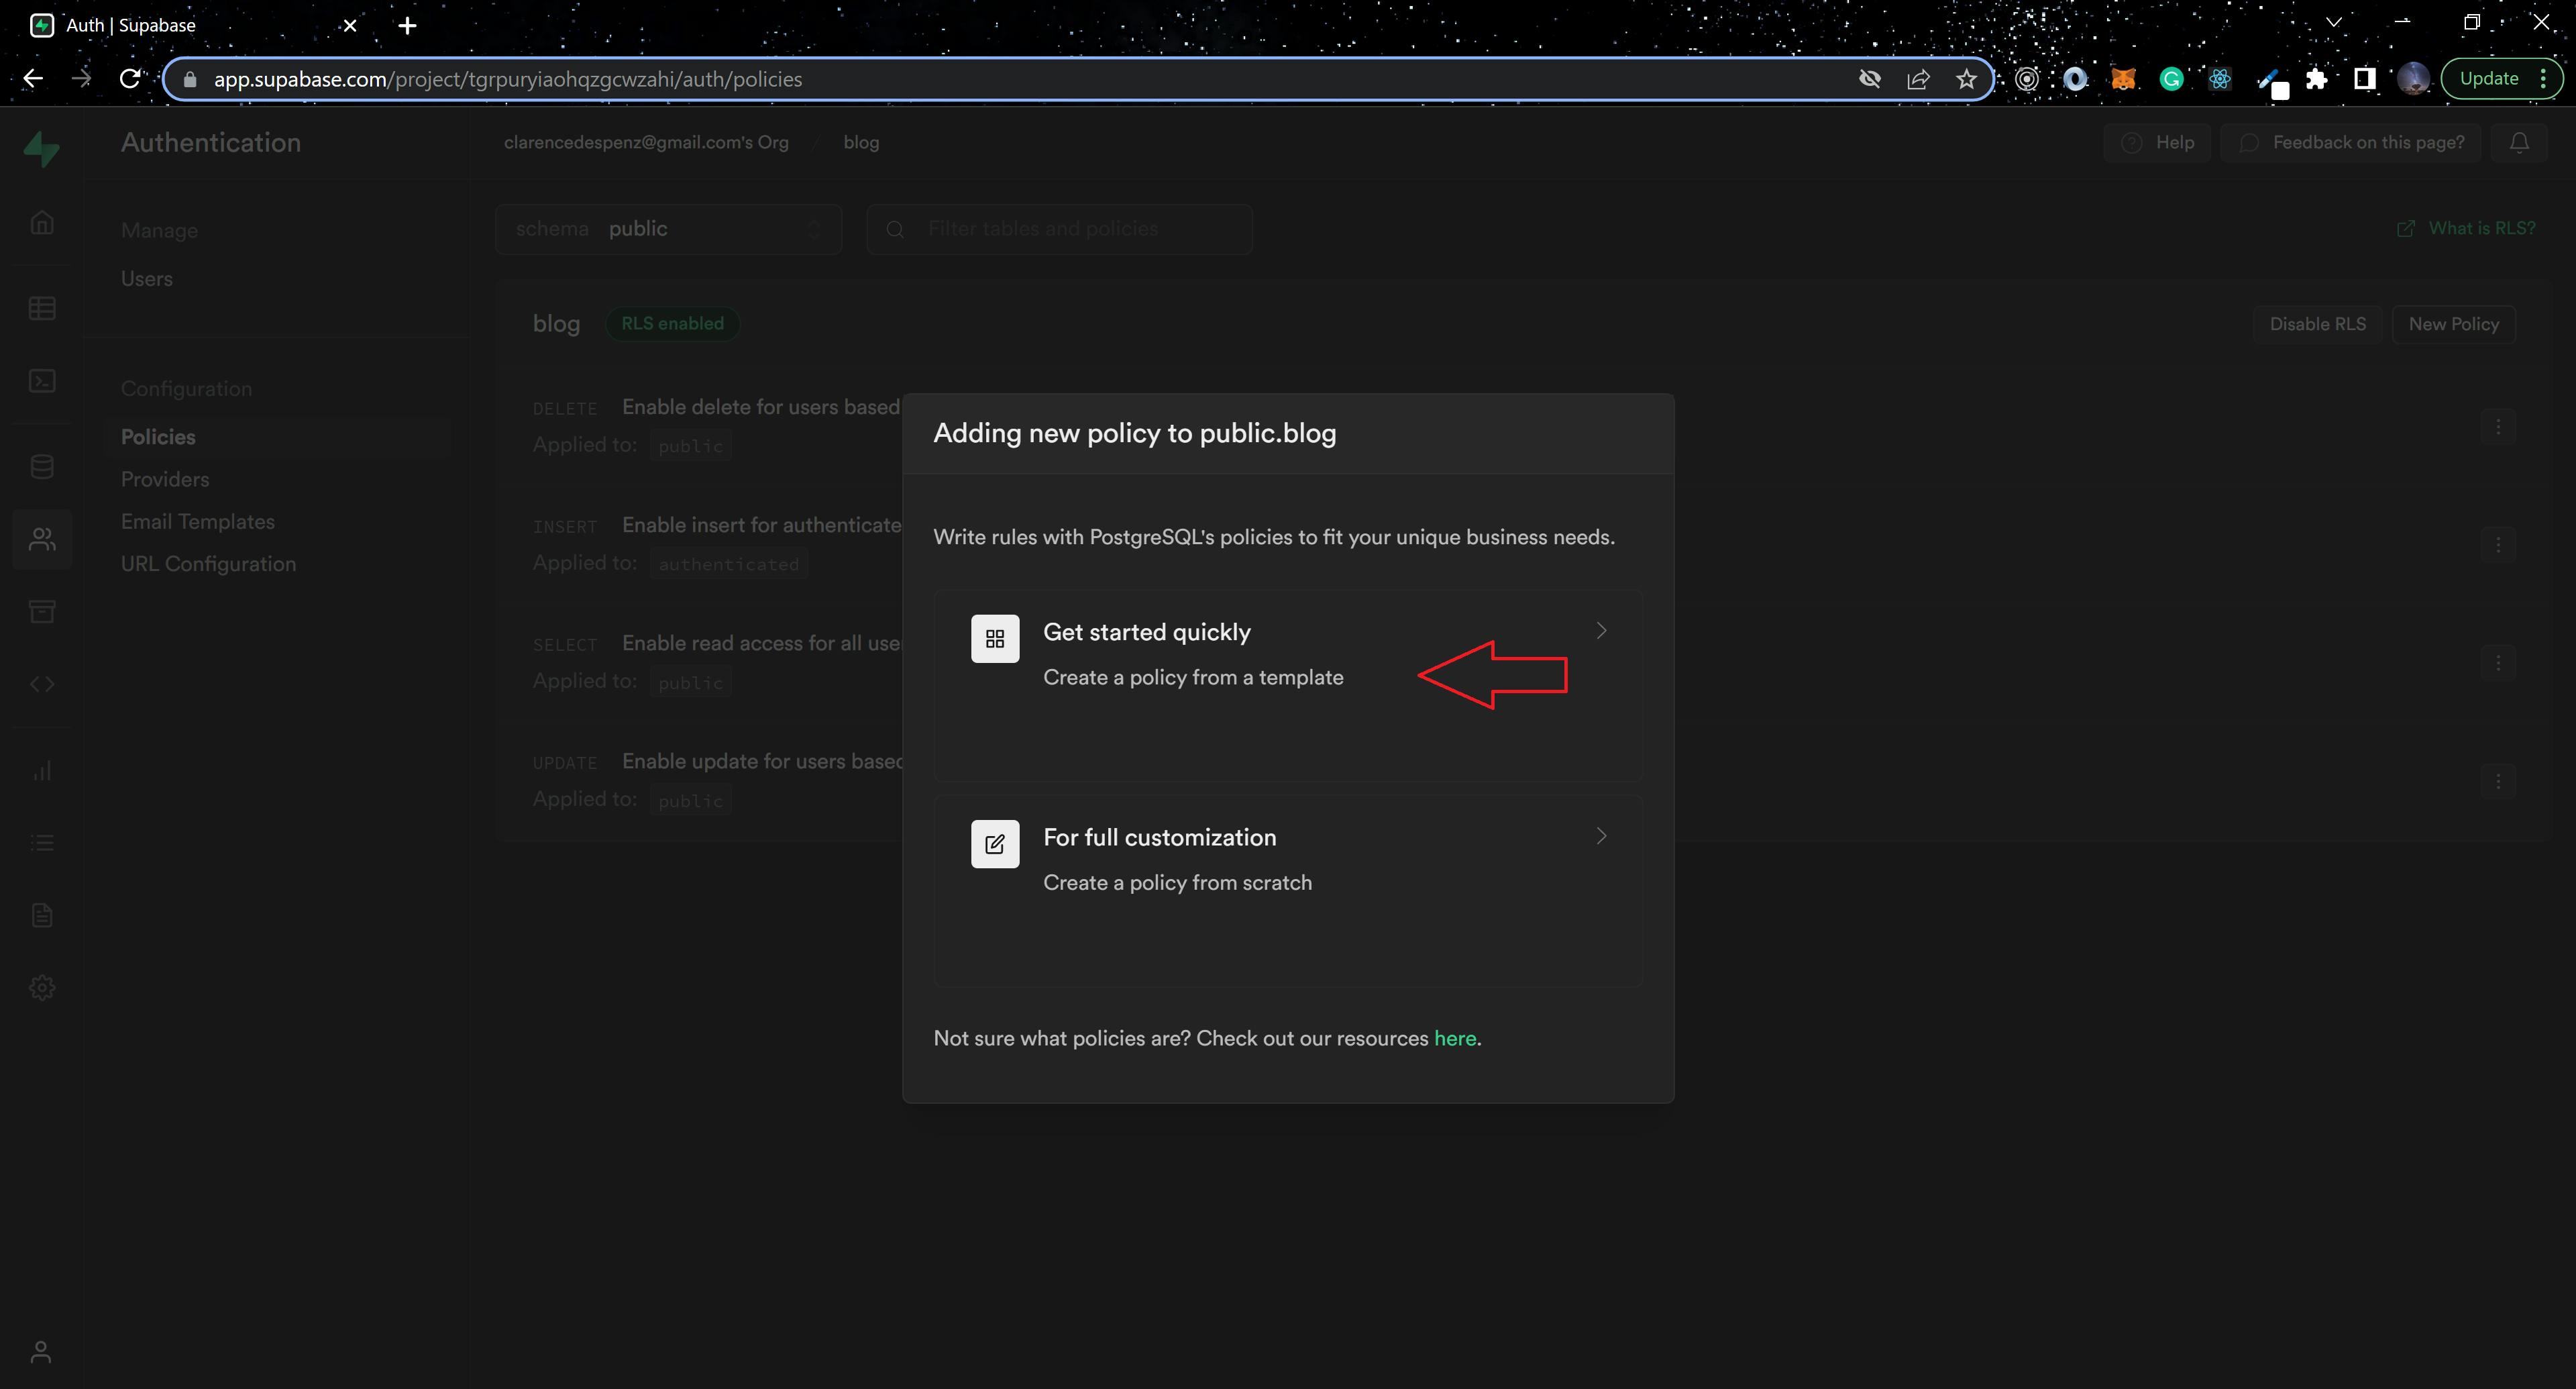
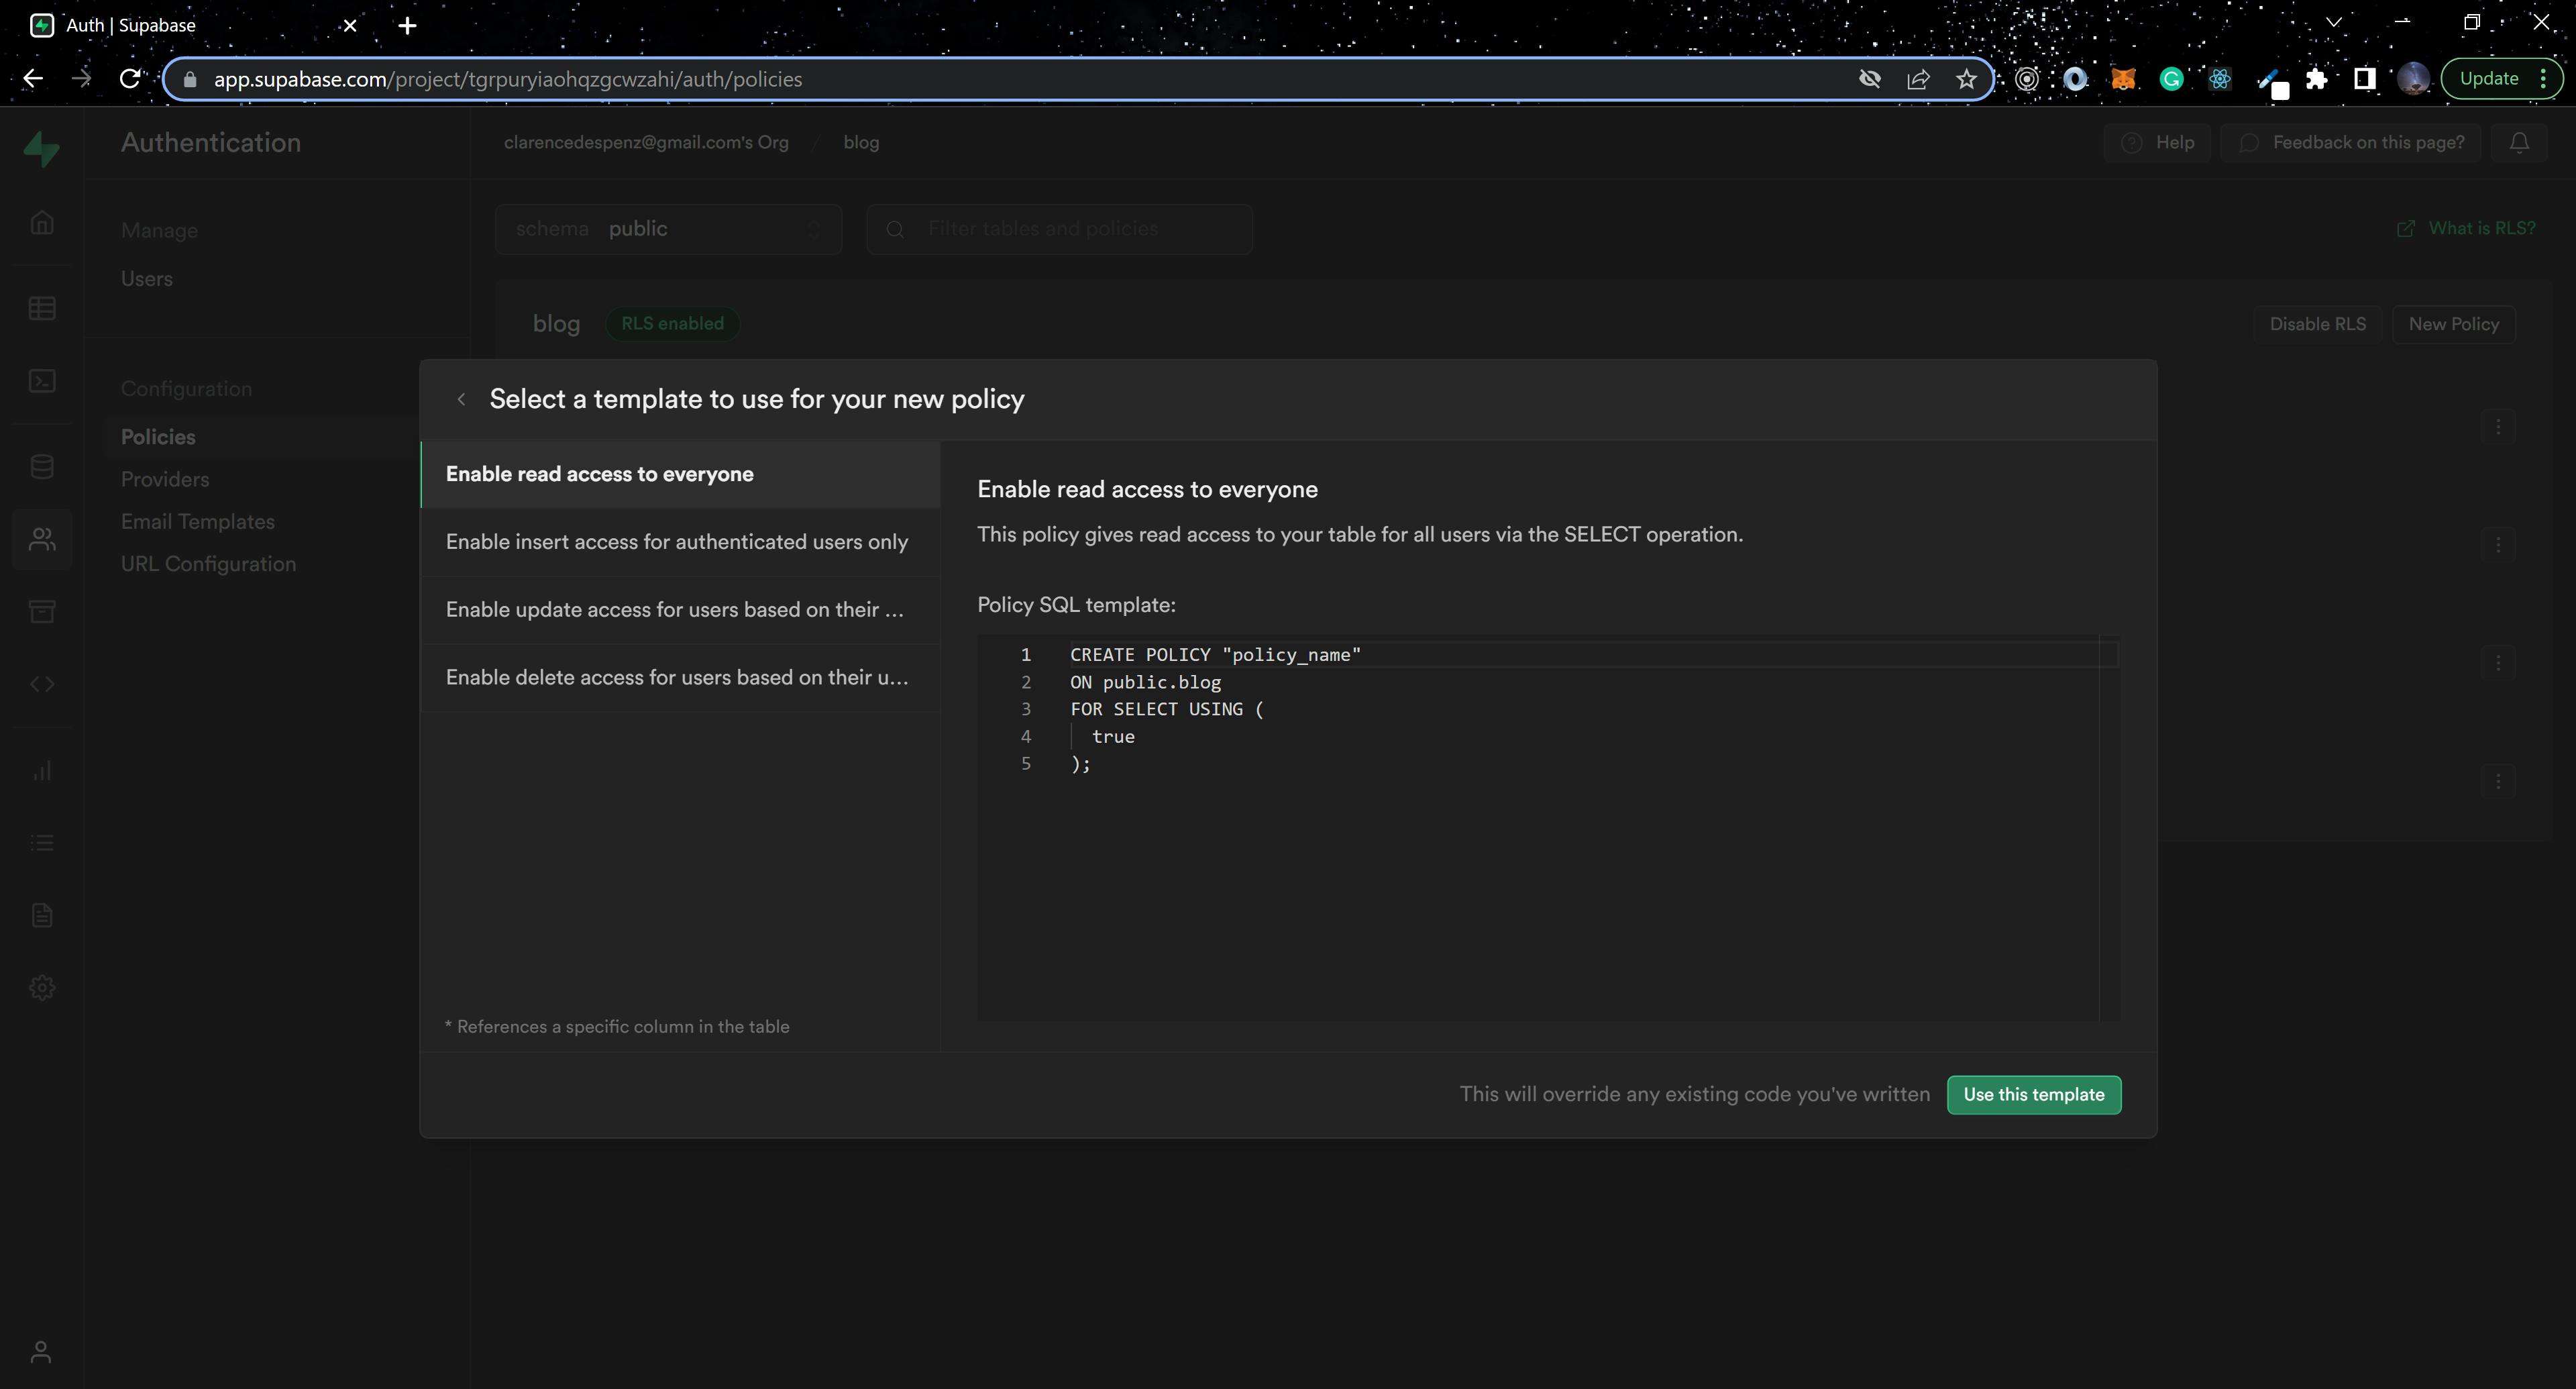
Enable all four policies by clicking the use this template button on each one. If RLS is enabled, you must do this or you will be unable to access any data from the table.
Authenticating the Application
Supabase provides several authentication methods; we will use the magic link authentication method.
create src/Auth/index.js and paste the below code block in it.
import {
  Box,
  Button,
  Flex,
  FormControl,
  FormLabel,
  Heading,
  Input,
  Text,
} from "@chakra-ui/react";
import { useState } from "react";
import { supabase } from "../config/supabaseClient";

export default function Auth() {
  const [loading, setLoading] = useState(false);
  const [email, setEmail] = useState("");

  const handleLogin = async (e) => {
    e.preventDefault();

    try {
      setLoading(true);
      const { error } = await supabase.auth.signInWithOtp({ email });
      if (error) throw error;
      alert("Check your email for the login link!");
    } catch (error) {
      alert(error.error_description || error.message);
    } finally {
      setLoading(false);
    }
  };

  return (
    <Flex justifyContent="center" alignItems="center" h="100vh">
      <Box className="col-6 form-widget" aria-live="polite">
        <Heading>Supabase ✖️ React ✖️ Hookstate</Heading>
        <Text my={4} textAlign="center">
          Sign in via magic link with your email below
        </Text>
        {loading ? (
          <Text>Sending magic link...</Text>
        ) : (
          <FormControl>
            <FormLabel>Email</FormLabel>
            <Input
              id="email"
              className="inputField"
              type="email"
              placeholder="Your email"
              value={email}
              onChange={(e) => setEmail(e.target.value)}
            />
            <Button onClick={handleLogin} bg="green.600" color="#fff" my={4}>
              Send magic link
            </Button>
          </FormControl>
        )}
      </Box>
    </Flex>
  );
}
Using the above code block and an active email address, you should receive a magic link from Supabase to gain access to the application.
Next, modify App.js with the below code block:
import React, { useEffect, useState } from "react";
import {
  Box, Text,
} from "@chakra-ui/react";
import { supabase } from "./config/supabaseClient";
import Auth from "./Auth";

const App = () => {
  const [session, setSession] = useState(null);

  useEffect(() => {
    supabase.auth.getSession().then(({ data: { session } }) => {
      setSession(session);
    });

    supabase.auth.onAuthStateChange((_event, session) => {
      setSession(session);
    });
  }, []);

  if (!session) {
    return <Auth />;
  }

  return (
    <Box
      display="flex"
      flexDirection="column"
      justifyContent="flex-start"
      alignItems="center"
      maxW="1440px"
      minH="100vh"
      m="auto"
    >
      <Box
        width={{ base: "auto", md: "700px" }}
        minH="100vh"
        mt="0rem"
        bg={{ base: "transparent", md: "blackAlpha.400" }}
        p={8}
      >
       <Text fontSize="20px" fontWeight="600">Welcome, {session.user.email}</Text>
      </Box>
    </Box>
  );
};

export default App;
To gain access to the application, we must first determine whether we have an active session on Supabase; if we do, we gain access to the application by storing the session in the component's local state session, but if we do not, we are prompted to request a magic link.
Store
In this section, we will implement Hookstate to manage the state of the application. Create a src/store/index.js and add the following code block:
import { hookstate, useHookstate } from "@hookstate/core";
import { devtools } from "@hookstate/devtools";
import { supabase } from "../config/supabaseClient";

const initialState = hookstate(
  {
    success: null,
    errorMsg: null,
    blog: [],
  },
  devtools({ key: "my-state-label" })
);

export const useGlobalState = () => {
  const state = useHookstate(initialState);

  return {
    success: () => state.success.value,
    errorMsg: () => state.errorMsg.value,
    clearErrorMsg: () => state.errorMsg.set(null),
    clearSuccess: () => state.success.set(null),
    getBlogCount: () => state.blog.length,
  };
};
This file will contain the application's entire logic as well as the connection to implement the CRUD functionality for our blog with Supabase.
We defined the methods that will interact with Supabase, read and set the state of our application, and set the initialState of the application.
To read more about using Hookstate, check out this blog post.
Creating Blog functions
Add Blog
Using the supabaseClient, you can insert new items into your serverless database. Add the code block to the already existing file src/store/index.js.
...
addBlog: async (content, session) => {
      const { data, error } = await supabase
      .from("blog")
      .insert([
        { content,  user_id: session.user.id, email: session.user.email },
      ])
      .select();

      if (data) {
        state.success.set("Blog added successfully");
      }
      if (error) {
        state.errorMsg.set("Error occured while adding blog");
      }
    },
...
Because we need to wait for a response from Supabase, the addBlog method is asynchronous. We destructure both data and error from Supabase; if the request is successful, we get data; otherwise, we get an error. The .from() method in Supabase represents the table we are attempting to access, and we use the .insert() method in supabase to add rows to an existing table. There is also the .select() method, which returns data from the table.
Following that, we determined whether data or an error was returned and set the corresponding message in our global state to success or errorMsg.
Fetch Blogs
To get data from the table we currently have access to, we'll use two methods: one to get it from the table and the other from the application's state.
...
getBlogs: async () => {
      const { data, error } = await supabase
        .from("blog")
        .select()
        .order("created_at", { ascending: false });
      state.blog.set(data);
      if (error) {
        state.errorMsg.set("Error occured while fetching blog");
      }
    },
fetchBlogs: () => state.blog,
...
The getBlogs method is similar to the addBlog method with a few exceptions: after specifying the table from which we want to retrieve data, we return the data using .select() and .order() is used to sort the data in descending order using created_at. If it's successful, the data returned is set to the blog array in the global state, else an error message is set to errorMsg.
After that is done. We can now use fetchBlogs to retrieve the blogs from the application's global state.
Update Blog
Updating a row in Supabase is simple; all that is required is the id, user_id, and content to be updated.
...
    updateBlog: async (id, session, content) => {
      const { data, error } = await supabase
        .from("blog")
        .update({ content })
        .eq("user_id", session.user.id)
        .eq("id", id)
        .select();

      if (data) {
        state.success.set("Blog updated successfully");
      }
      if (error) {
        state.errorMsg.set("Error occured while updating blog");
      }
    },
...
As usual, we access the existing table and then call the .update() method, passing in the field data to be updated. Using the .eq() method, we checked to see if both arguments were the same and if so, we returned the data; otherwise, an error message is displayed.
Delete Blog
Using the code block below, we can delete a row from our table:
deleteBlog: async (id, session) => {
      const { data, error } = await supabase
        .from("blog")
        .delete()
        .eq("user_id", session.user.id)
        .eq("id", id)
        .select();

      if (data) {
        state.success.set("Blog deleted successfully");
      }
      if (error) {
        state.errorMsg.set("Error occured while deleting blog");
      }
    },
After we access the table, using the .delete() method, we check to see if the user deleting the row is the same as the user who created it, and a similar check is done to be certain of the row that the user is deleting. The respective messages will be set to errorMsg or success depending on whether the execution was successful or not.
Building the Blog Components
The logic for interacting with Supabase is complete. Next, navigate to App.js so that we can use them. First and foremost, we must ensure that the below code block is at the beginning of the component.
import React, { useEffect, useState } from "react";
import {
  Box,
  Button,
  Card,
  CardBody,
  CardFooter,
  Flex,
  Input,
  Stack,
  Text,
} from "@chakra-ui/react";
import { useGlobalState } from "./store";
import { supabase } from "./config/supabaseClient";
import Auth from "./Auth";
Still, in App.js, we need to add some local state and logic to check if a user is authenticated.
...
  const [session, setSession] = useState(null);
  const state = useGlobalState();
  const [blog, setBlog] = useState([]);

  const [content, setContent] = useState("");
  const [edit, setEdit] = useState(false);
  const [updateId, setUpdateId] = useState(0);

  useEffect(() => {
    supabase.auth.getSession().then(({ data: { session } }) => {
      setSession(session);
    });

    supabase.auth.onAuthStateChange((_event, session) => {
      setSession(session);
    });
  }, []);
...
Fetch Blogs
To retrieve the state of our blog, we create two functions: loadBlogs, which retrieves data from our Supabase table, and fetchBlogs, which retrieves data from our global state blog, setting the result to the local state in App.js.
...
// eslint-disable-next-line react-hooks/exhaustive-deps
  const loadBlogs = () => {
    state.getBlogs();
  };

  // eslint-disable-next-line react-hooks/exhaustive-deps
  const fetchBlogs = () => {
    setBlog(state.fetchBlogs());
  };

  useEffect(() => {
    loadBlogs();
    fetchBlogs();

    // eslint-disable-next-line react-hooks/exhaustive-deps
  }, []);
...
Add Blog
This function is in charge of inserting a new row into the blog table. The method receives two arguments.
...
const addBlog = async () => {
    state.addBlog(content, session);
    setContent("");
  };
...
Update Blog
This function is responsible for updating an existing row in the blog table. Three arguments are passed into the method.
 ...
 const updateBlog = (id) => {
    state.updateBlog(id, session, content);
    setContent("");
    setUpdateId(0);
    setEdit(false);
  };
...
Delete Blog
This function is responsible for deleting a row available in the blog table. Two arguments are passed into the method.
...
  const deleteBlog = (id) => {
    state.deleteBlog(id, session);
  };
...
Sign out user
Using the below code block, a user can cancel an active session.
...
  const signOut = async () => {
    const { error } = await supabase.auth.signOut();

    if (!error) {
      window.location.reload();
    }
  };
...
Display Success and ErrorMessages
We have two conditions that check to see if any of our calls to Supabase fail or return data. The conditions will output the appropriate response.
...
 if (state.success() !== null) {
    loadBlogs();
    fetchBlogs();
    alert(state.success());
    state.clearSuccess();
  }

  if (state.errorMsg() !== null) {
    alert(state.errorMsg());
    state.clearErrorMsg();
  }
...
Completing the Blog Interface
Replace the entire return block in your App.js component with the code block below:
...
 return (
    <>
      {!session ? (
        <Auth />
      ) : (
        <Box
          display="flex"
          flexDirection="column"
          justifyContent="flex-start"
          alignItems="center"
          maxW="1440px"
          minH="100vh"
          m="auto"
        >
          <Box
            width={{ base: "auto", md: "700px" }}
            minH="100vh"
            mt="0rem"
            bg={{ base: "transparent", md: "blackAlpha.400" }}
            p={8}
          >
            <Text fontSize="28px" fontWeight="600" mb={4}>
              Welcome, {session.user.email}
            </Text>
            <Button onClick={signOut} color="#fff" bg="red">
              Sign out
            </Button>
            <Text fontSize="28px" fontWeight="600" mb={4}>
              Blog posts: {state.getBlogCount()}
            </Text>
            <Flex>
              <Input
                name="content"
                value={content}
                onChange={(e) => setContent(e.target.value)}
                errorBorderColor="crimson"
                placeholder="Enter Quote"
                borderInlineEndRadius={0}
              />
              {edit ? (
                <Button
                  onClick={() => updateBlog(updateId)}
                  borderInlineStartRadius={0}
                  bg="green"
                  color="#fff"
                >
                  Update
                </Button>
              ) : (
                <Button
                  isDisabled={content.length < 4}
                  onClick={addBlog}
                  borderInlineStartRadius={0}
                  bg="green"
                  color="#FFF"
                >
                  Add
                </Button>
              )}
            </Flex>
            <Box my={8}>
              {blog.length < 1 && (
                <Text py={4} textAlign="center">
                  No blog post found
                </Text>
              )}
              {blog &&
                blog.map((item, index) => (
                  <Card
                    key={index}
                    direction={{ base: "column", sm: "row" }}
                    overflow="hidden"
                    variant="outline"
                    my={4}
                  >
                    <Stack w="full">
                      <CardBody>
                        <Text fontSize="24px" fontWeight="600" py="2">
                          {item.get(item).content}
                        </Text>
                      </CardBody>

                      <CardFooter
                        display="flex"
                        justifyContent="flex-end"
                        gap={4}
                      >
                        <Button
                          onClick={() => {
                            setContent(item.get(item).content);
                            setEdit(true);
                            setUpdateId(item.get(item).id);
                          }}
                          bg="blue"
                          color="#fff"
                        >
                          Edit
                        </Button>
                        <Button
                          onClick={() => deleteBlog(item.get(item).id)}
                          bg="red"
                          color="#fff"
                        >
                          Delete
                        </Button>
                      </CardFooter>
                    </Stack>
                  </Card>
                ))}
            </Box>
          </Box>
        </Box>
      )}
    </>
  );
...
In the above code block, we added the functions we created in App.js to make our application fully functional.
Conclusion
In this article, we explored how to create a functional full-stack serverless application using Supabase, Hookstate, and React. We built a database, authenticated the application, and used Hookstate to manage the application's state. Visit their official documentation to learn more about Supabase's features. Check out the Hookstate library to manage state in your React application.